Protecting Your Wardrobe: Tips for Moving Clothing During Your Next Relocation
It usually starts like this. You open your closet and stare at the rows of clothes you have carefully collected over the years. There is the tailored blazer you wore to your first job interview, the dress you bought for that wedding on the beach, the winter coat that somehow makes freezing days feel cozy, and the jeans that have molded to your shape over countless weekends.
Now, moving day is coming, and the thought of folding these pieces into boxes or hanging them in a moving truck feels a little risky. You know you can’t just toss them in a garbage bag and hope for the best. Every piece of clothing holds a memory, an investment, or a purpose, and you want it all to arrive in your new home in perfect shape.
This is where a thoughtful moving plan for your wardrobe can take a lot of sting out of the process. When you move clothing correctly, you protect your comfort, confidence, and all the moments these clothes have carried you through. We understand how important this is. After all, we love our clothes, too! With the right approach, you can ensure that every item, from formal wear to gym clothes, arrives looking as good as it did when you packed it.
Step 1: Understand the Different Categories of Clothing
Not all clothing needs to be handled in the same way during a move. Before you start packing, it helps to sort your wardrobe into categories. Doing so will make it easier to choose the right packing materials and methods for each group.
Formal wear such as suits, gowns, and tailored jackets should be kept on hangers whenever possible to avoid wrinkling and distortion of shape. Casual everyday wear like jeans, T-shirts, and sweaters can be folded and boxed, but you still need to avoid overstuffing containers, because nobody enjoys wrinkles.
Delicate items such as silk blouses, cashmere sweaters, and lingerie require extra cushioning to prevent snags or stretching. And seasonal gear like heavy coats or swimsuits should be stored in a way that keeps them fresh, especially if you will not be using them immediately.
Apart from just taking the legwork out of the process, a reputable moving company can help you determine the safest and most efficient packing solution for each type of clothing, ensuring nothing is damaged during transport.
Step 2: Declutter Before You Pack
We know it’s hard to part with pieces in our wardrobe lineup, but downsizing is a key step you don’t want to gloss over. As we’ve seen time and time again as local movers in Montgomery County, moving is the perfect opportunity to go through your clothing and decide what you truly want to take with you. You might discover that some pieces no longer fit, do not match your style anymore, or simply take up unnecessary space. Decluttering before packing can save you time, reduce moving costs, and make unpacking easier in your new home.
Set aside clothing you can donate to charity, give to friends, or recycle. This step also ensures that the clothes you do pack are worth protecting and transporting. With fewer items to move, you can give more attention to the pieces that matter most.
Step 3: Choose the Right Packing Method
Different clothing types need different packing strategies. This table offers a quick reference for the best methods:
| Clothing Type | Best Packing Method | Reason |
| Formal wear (suits, gowns) | Wardrobe box with hanging bar | Prevents wrinkles and maintains shape |
| Casual wear (jeans, T-shirts) | Folded in clean, sturdy boxes | Saves space and easy to stack |
| Delicates (silk, cashmere) | Tissue paper wrapping in box or garment bag | Protects from snags and stretching |
| Outerwear (coats, jackets) | Hanging garment bag or large box | Keeps structure and fabric integrity |
| Shoes | Individual boxes or wrapping in packing paper | Prevents scuffing and crushing |
By using the correct packing materials, you don’t run the risk of damage and you make unpacking far less stressful.
Step 4: Wrap Hanging Clothes the Smart Way
For garments that need to stay on hangers, wardrobe boxes are a lifesaver. These tall boxes allow you to transfer clothes directly from the closet without removing them from the hanger. Simply lift them from the rod in your closet and hang them in the box’s built-in bar. This keeps dresses, blouses, suits, and coats from getting wrinkled or creased during the move. If you do not want to invest in wardrobe boxes, you can create a DIY version by tying hangers together and slipping a garbage bag over the clothing for protection.
An added advantage of using wardrobe boxes is the extra space at the bottom for shoes, belts, or folded sweaters. This space can help consolidate items and reduce the number of boxes you need overall. If you choose the DIY bag method, make sure to label each bundle so you know exactly what’s inside. This saves you from tearing through plastic bags in your new home while trying to find your favorite jacket. The goal is to protect your clothing while also keeping your unpacking process quick and frustration-free.
Step 5: Use Vacuum-Seal Bags for Bulk Items
Bulky clothing like winter coats, puffer jackets, or thick sweaters can take up a lot of room in boxes or bins. Vacuum-seal bags are a fantastic solution because they compress items down to a fraction of their original size while protecting them from dust and moisture. These bags are especially useful if you’re downsizing or moving somewhere with less storage space. Once sealed, you can stack them neatly in a box or suitcase.
Beyond saving space, vacuum-seal bags help protect fabrics from potential pests like moths during transit or storage. This makes them especially valuable for moves that involve temporary storage units. If you do plan to store your clothing for more than a few months, consider adding a cedar block or lavender sachet inside the bag before sealing it. This small step adds an extra layer of protection and keeps your clothes smelling fresh when you finally unpack them.
Step 6: Protect Delicate Fabrics with Tissue or Garment Bags
Silk blouses, lace dresses, or other delicate pieces can easily snag, tear, or lose their shape if not packed with care. To prevent damage, wrap each delicate garment in acid-free tissue paper before folding or hanging. This reduces friction and helps preserve the garment’s original condition. For high-end or sentimental clothing like wedding dresses, use a breathable garment bag instead of plastic to allow airflow and prevent yellowing.
If you are moving in warm or humid weather, breathable bags become even more important. Plastic can trap moisture and cause mildew or discoloration, especially during long-distance moves. Investing in high-quality, reusable garment bags is worth the cost, as they can serve you well beyond your move for travel or seasonal storage. Treating your delicate fabrics with this level of care ensures they’ll arrive looking just as beautiful as the day you packed them.
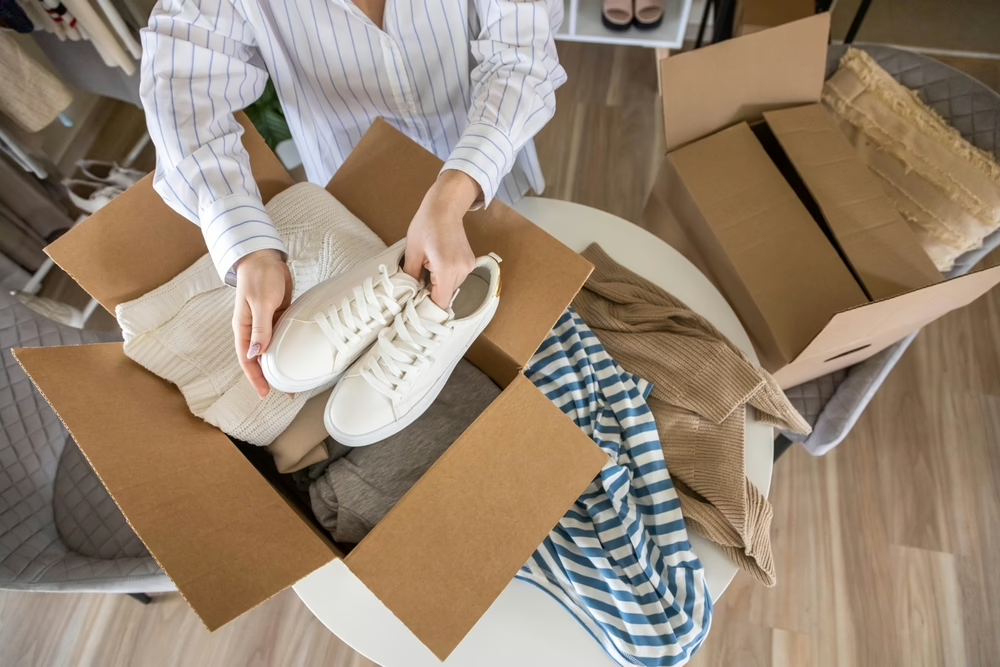
Step 7: Keep Shoes Separate and Structured
Shoes might not seem as fragile as clothing, but without proper packing, they can lose their shape or scuff one another. This is especially true of longer transits, such as moving to Florida from PA for example, as there are more variables in play. The ideal method is to pack each pair in its original shoebox and then stack them in a larger moving box. If you no longer have the original boxes, wrap each shoe in paper or cloth to protect the material. Place heavier shoes at the bottom and lighter or more delicate ones on top.
For boots, consider inserting boot shapers or even rolled-up socks to maintain their shape. This extra effort keeps the leather or fabric from collapsing, which can cause permanent creases. Moisture-absorbing packets can also be slipped into shoes during the move to prevent any unwanted odors or mildew. These small but thoughtful measures make sure your footwear collection arrives ready to wear without the need for post-move repairs or deep cleaning.
Step 8: Sort and Declutter Before Packing
One of the biggest mistakes people make when moving clothing is packing everything they own without sorting through it first. This not only increases the cost of your move but also makes unpacking overwhelming. Before you begin packing, take time to go through your wardrobe and donate or sell items you no longer wear. Be honest about what fits, what suits your lifestyle, and what you genuinely enjoy wearing.
Decluttering ahead of time also gives you the chance to pack smarter. You’ll have fewer items to protect, which means you can invest more care and resources into packing what you truly value. Plus, starting fresh in your new home with a curated wardrobe feels far more organized and intentional. It’s a mental reset as much as a physical one, helping you step into your new chapter with only the pieces that make you feel confident and comfortable.
Step 9: Label Boxes Clearly for Easy Unpacking
Labeling might seem like an obvious step, but it’s often overlooked in the rush of packing. Clearly marking each box with its contents and intended room speeds up the unpacking process significantly. Instead of writing vague labels like “Clothes,” be more specific, such as “Summer Dresses – Master Closet” or “Winter Coats – Storage.” This level of detail helps movers place boxes in the right location and keeps you from opening everything at once.
We find it very helpful to use a color-coded system with stickers or tape to make identification even faster. For example, blue for bedroom items, green for storage, and yellow for guest room clothing. This method is especially helpful if friends or family are helping you unpack, as they won’t have to ask where every box belongs. When your labeling is thorough, you’ll save hours of sorting and searching in your new home.
Step 10: Keep Essentials Accessible for the First Days
When you arrive at your new home, the last thing you’ll want is to dig through multiple boxes just to find a comfortable outfit or pajamas. Pack a separate essentials bag with a few days’ worth of clothing, undergarments, sleepwear, and any must-have accessories. Treat it like you’re packing for a short trip so you have everything you need at your fingertips without unpacking your entire wardrobe right away.
Adding a lightweight laundry bag to your essentials kit can also be a game-changer. It gives you a place to keep worn clothes separate until you’re ready to wash them, preventing them from mixing with clean garments in your suitcase. Having this small, organized setup makes your first few days in your new space far more relaxed, allowing you to settle in before tackling the full unpacking process.
From Boxes to Closets: Your Clothing’s Fresh Start
Your wardrobe is a reflection of your life, your personality, and your memories. Protecting it during a move is about more than keeping fabric clean. It is about preserving the things that make you feel comfortable and confident in your new home. With a combination of careful preparation, the right materials, and professional support, you can move every piece with confidence.
The key is planning ahead, investing in proper packing solutions, and trusting experienced movers to handle the rest. By following these tips, you can ensure your wardrobe makes the journey to your new home just as ready for a fresh start as you are. If you have any more questions about some of the best processes and practices for making sure every stitch remains intact during your next move, reach out to the pros at Louderback Moving today. They’ll make sure your wardrobe remains just as stunning as the day it left.